
The Top Ways To Build A Personalized Routine For Preventive Health Screenings
May 23, 2026


Recovering from an injury often means finding new ways to keep your body moving while protecting the area that needs time to heal. When you deal with a sore knee, a strained back, or a sprained ankle, you do not have to stop exercising altogether. By making a few thoughtful adjustments, you can stay active and support your recovery. This guide outlines straightforward steps to help you assess your situation safely, then walks you through eight practical changes you can make to your routine. Each tip focuses on actions you can start using right away, so you can maintain your fitness without risking further harm.
These steps help you establish a baseline for recovery. By identifying weak points, you reduce guesswork and lower the chance of setbacks.
Once you understand your safe zones, you can select modifications that match your current abilities. This approach allows you to stay active while rebuilding strength.
Select a machine or setting that elevates your heart rate while protecting the injured area. Begin with 10–15 minute sessions, then increase time as you feel comfortable.
Pay attention to how your body reacts. If swelling or pain increases, reduce the intensity or switch to a gentler option. Consistent effort matters more than intensity at this stage.
Strength exercises build muscle around the injured area, providing better support. You do not need heavy weights to see improvements. Focus on controlled movements that target key muscle groups.
Resistance bands and bodyweight exercises offer adjustable tension while keeping joints safe. Start with light resistance and proceed gradually.
Perform each stretch with smooth, controlled motions. Avoid bouncing, which can irritate injured tissues. Hold each position for 15–30 seconds, repeating twice per side when possible.
These mobility exercises improve circulation and reduce stiffness. Over time, increased flexibility supports safer movement during daily activities and workouts.
Keep your spine neutral during these exercises. Do each move in sets of 8–12 repetitions, resting for 30 seconds between sets. If you experience pinching or sharp pain, stop and check your form.
Consistent breathing and controlled movements activate deep muscles that stabilize your back and pelvis, reducing future injury risks.
Developing good habits protects your body from future injuries. Proper warmups and cooldowns help you ease into activity and return to rest without jarring your system.
Keep a record of your progress and setbacks. Tracking your recovery helps you modify workouts and rest periods as needed.
Follow these tips, listen to your body, and celebrate progress. Regular effort enhances strength and mobility while reducing flare-ups.

Simple changes to your daily routine can improve your health while supporting the environment. Swapping out certain kitchen staples, exploring alternative ways to...
May 09, 2026

Small choices before bedtime greatly affect how well we sleep each night. When the soft light from phones or televisions fills the room after dark, our brains stay alert...
May 07, 2026

Cutting back on sugar often seems challenging at first, yet even minor changes can make a noticeable difference over time. This guide highlights seven easy methods to...
May 02, 2026

Managing ongoing aches often proves challenging, yet moving your body can offer noticeable relief. Pain may prompt you to rest, but gentle physical activity actually...
Apr 29, 2026

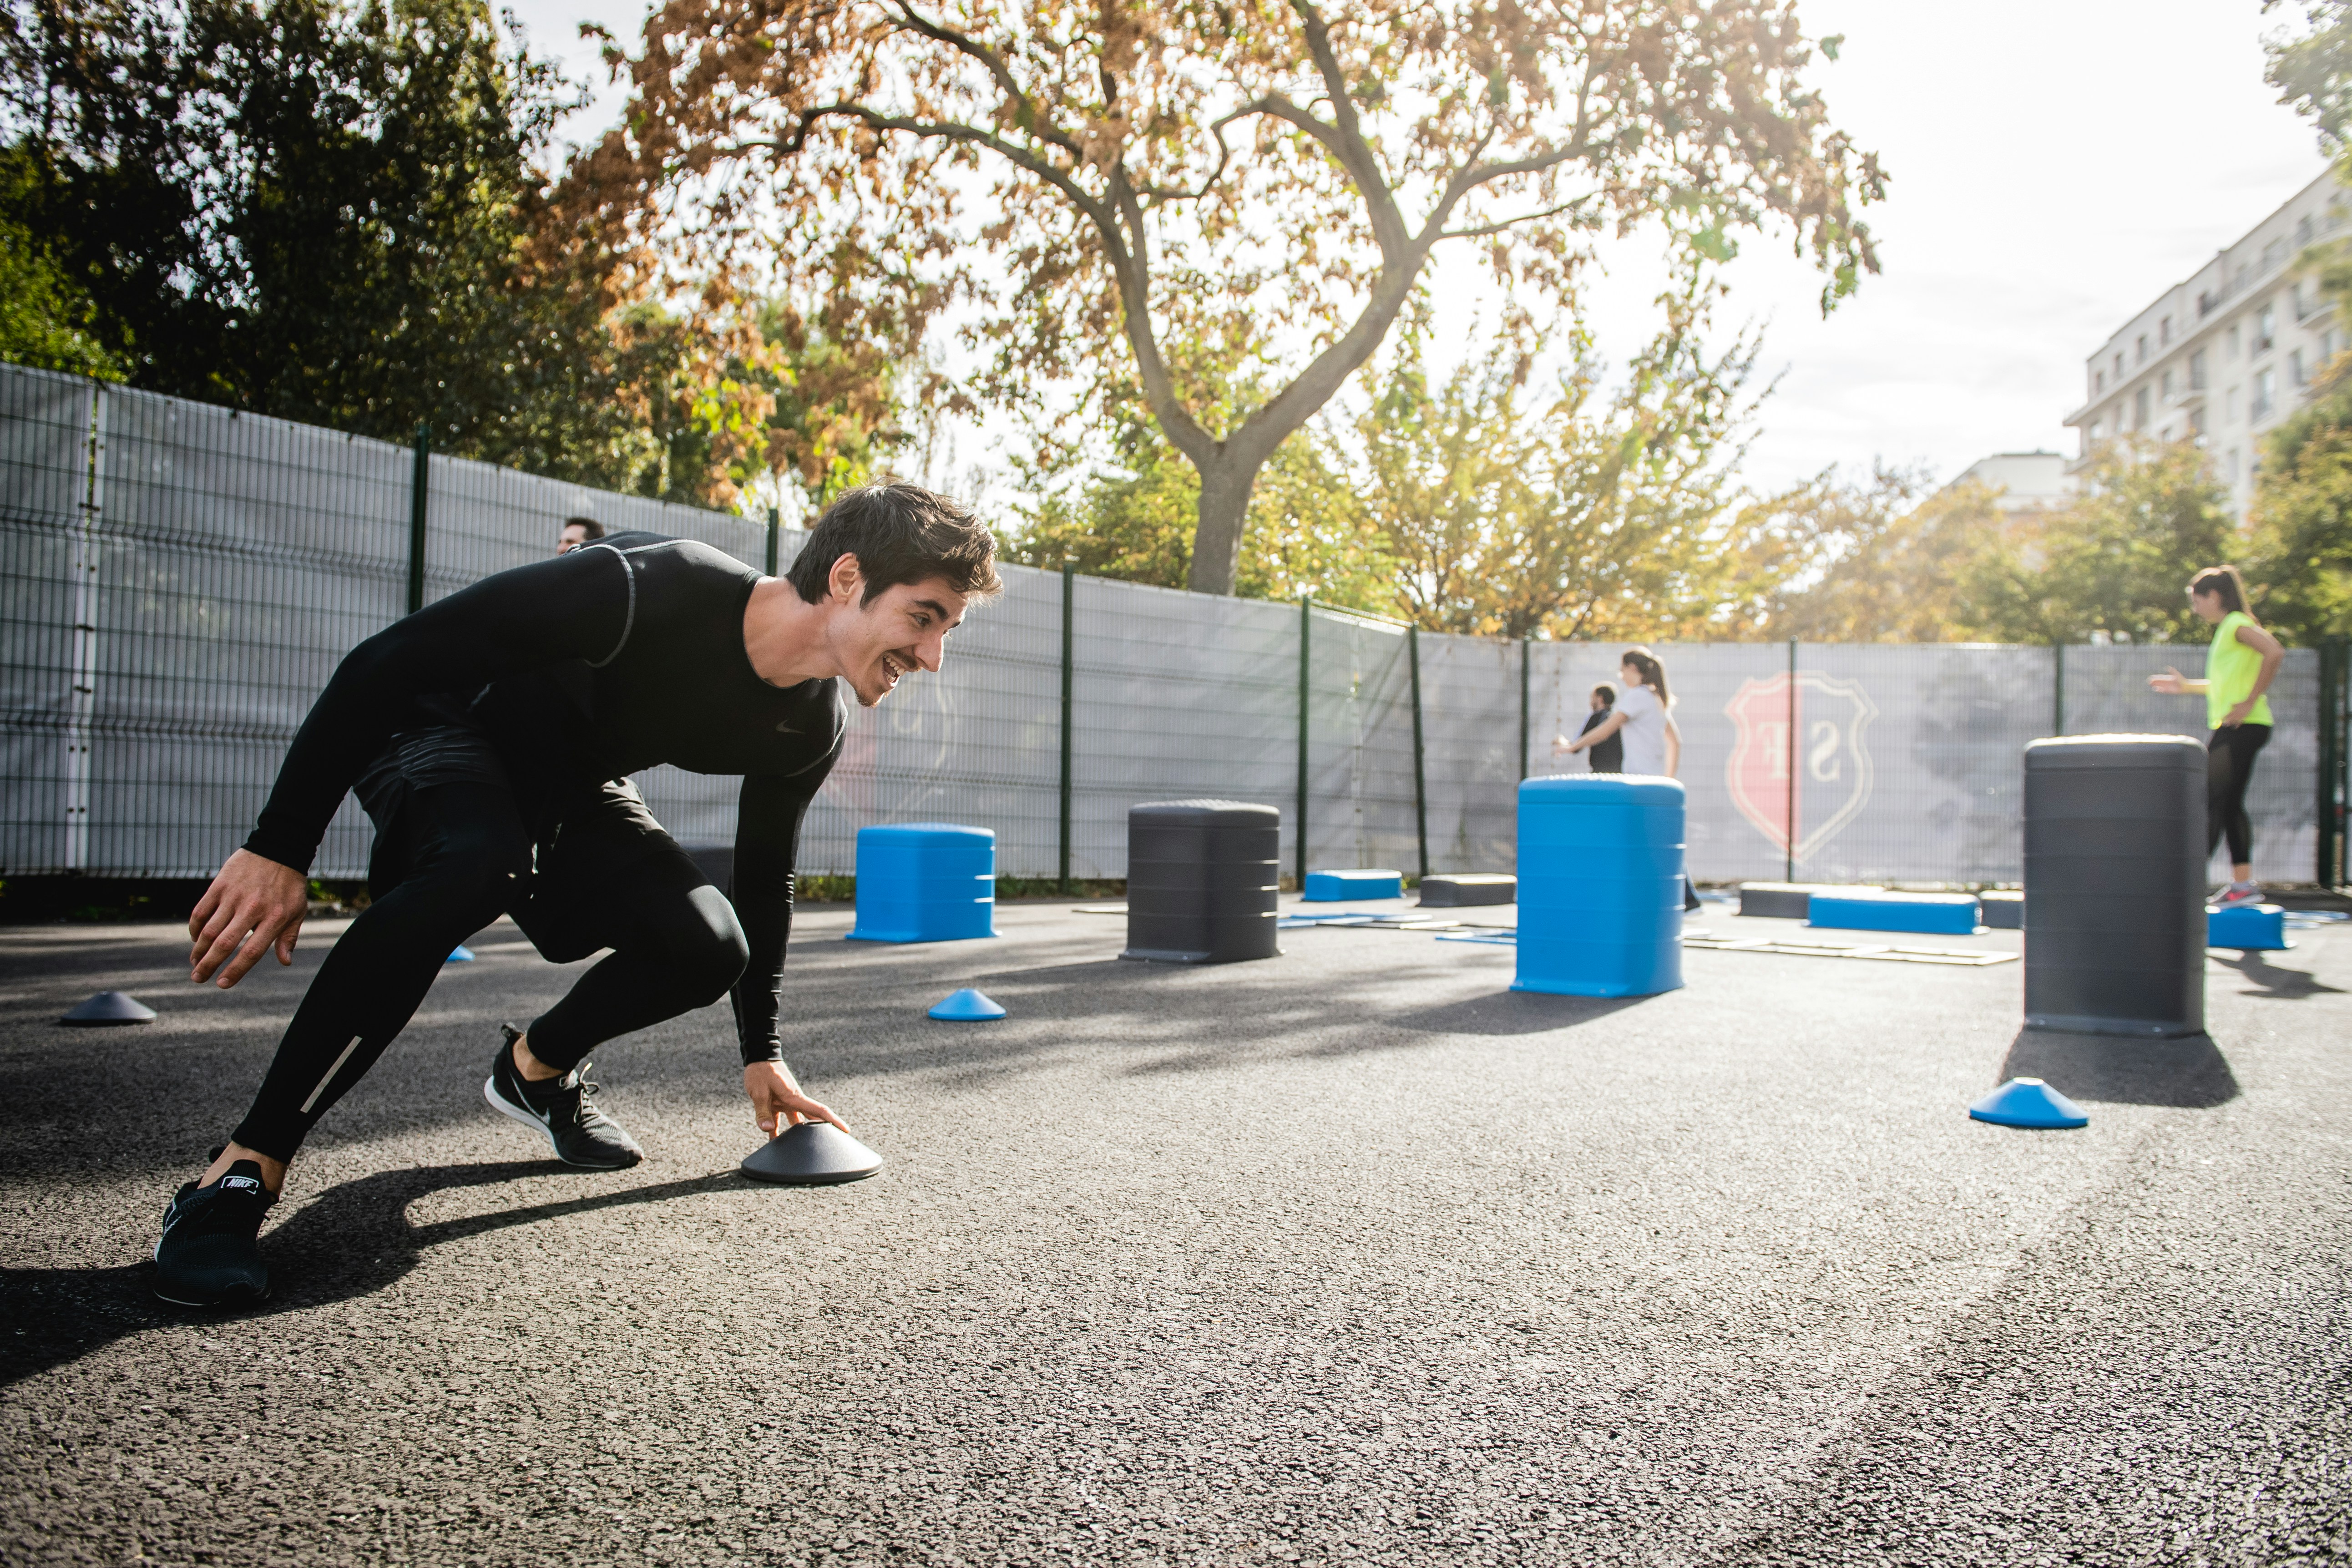
Busy schedules often leave little time for lengthy gym sessions, but circuit training makes it possible to stay active and fit without sacrificing hours each week. By...
Apr 25, 2026

Joining a walking club adds excitement and a sense of community to an everyday activity. Group walks encourage regular participation, as members rely on each other and...
Apr 22, 2026

Staying healthy while on the move sometimes seems challenging, but simple choices can make a big difference. Bringing along nourishing snacks, finding creative ways to...
Apr 18, 2026

Good sleep forms the foundation for steady energy, a positive mood, and strong focus each day. The habits you build during waking hours have a direct effect on how well...
Apr 15, 2026

Countless users install multiple health apps and often find it difficult to translate the data they collect into useful daily goals. By exploring how each app works and...
Apr 11, 2026

Healthy boundaries support emotional well-being and help maintain strong, respectful relationships. When you clearly define what feels comfortable for you, stress...
Apr 07, 2026
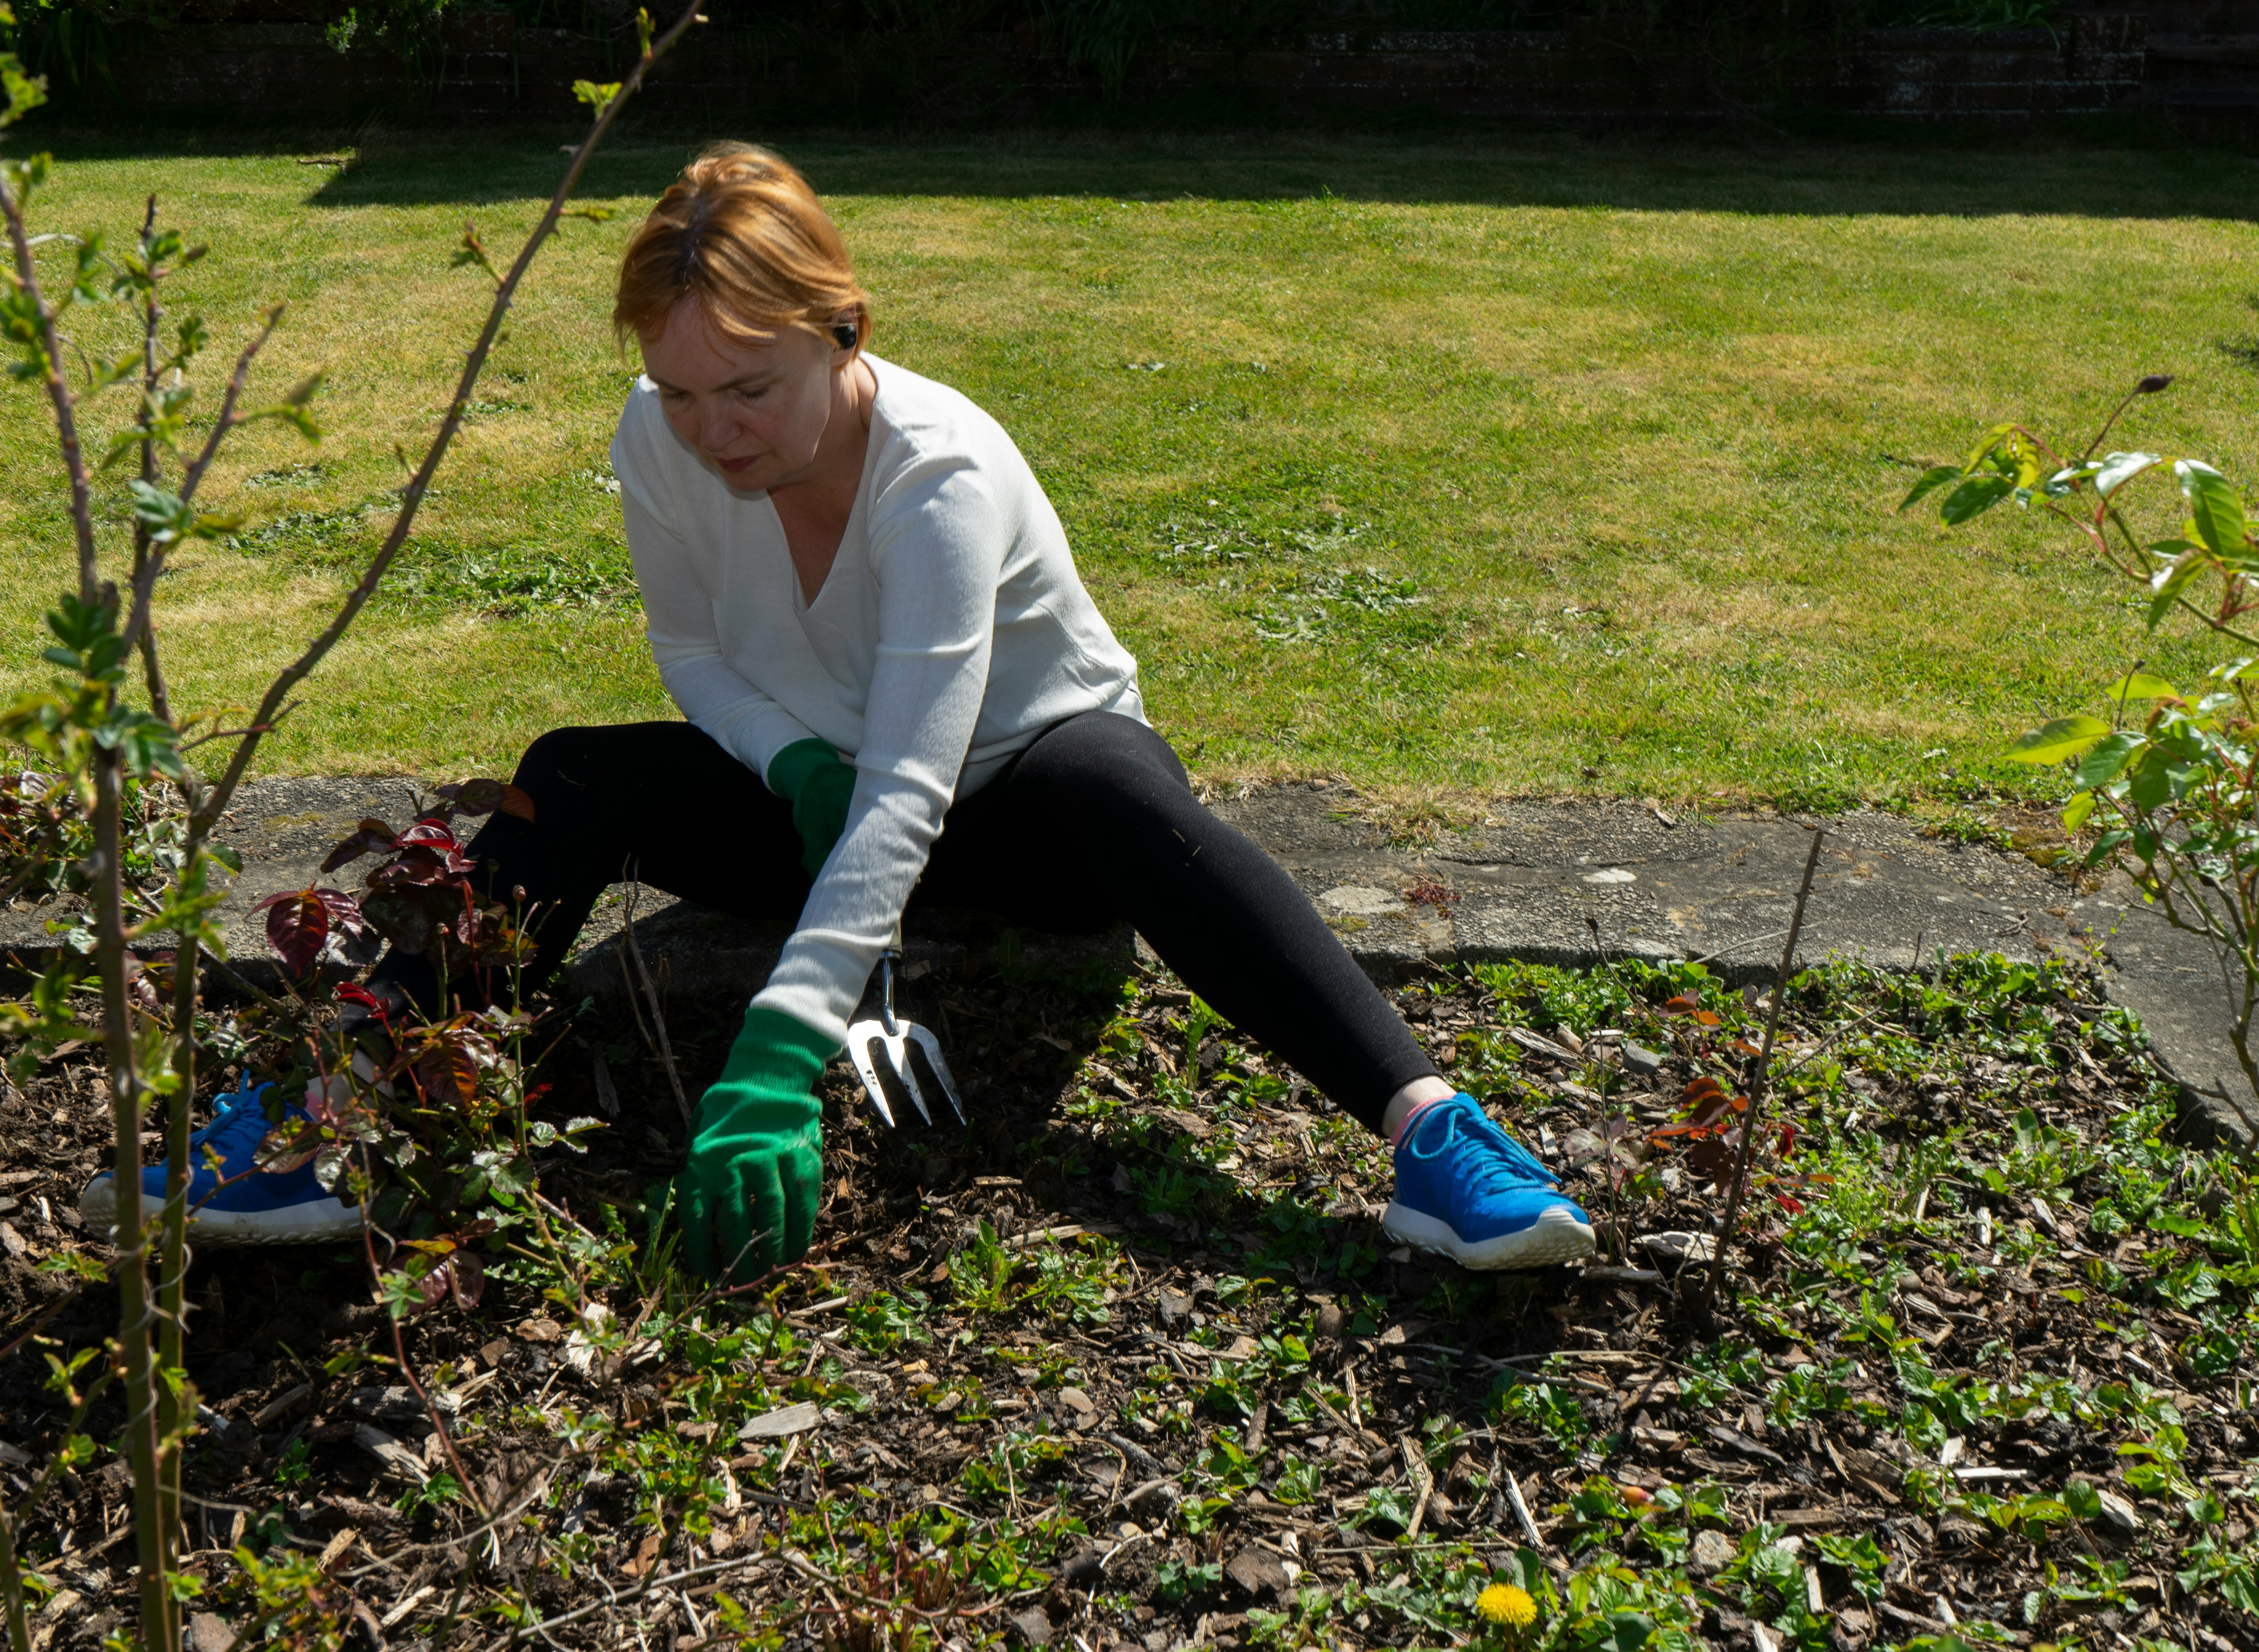
Working in your garden brings a sense of joy and keeps you active throughout the day. Sunshine, fresh air, and the sight of blooming flowers create a welcoming space...
Apr 03, 2026

Many people find that reducing alcohol intake feels more manageable when they focus on small, practical adjustments. Choosing to pour less at home, keeping track of each...
Mar 31, 2026
Fresh air and natural scenery bring a welcome change to any exercise routine. Instead of repeating the same movements indoors, outdoor workouts introduce new sensations...
Mar 27, 2026

Strengthening your core offers benefits that extend far beyond better posture. A solid core helps you maintain stability, ease discomfort in your lower back, and handle...
Mar 24, 2026