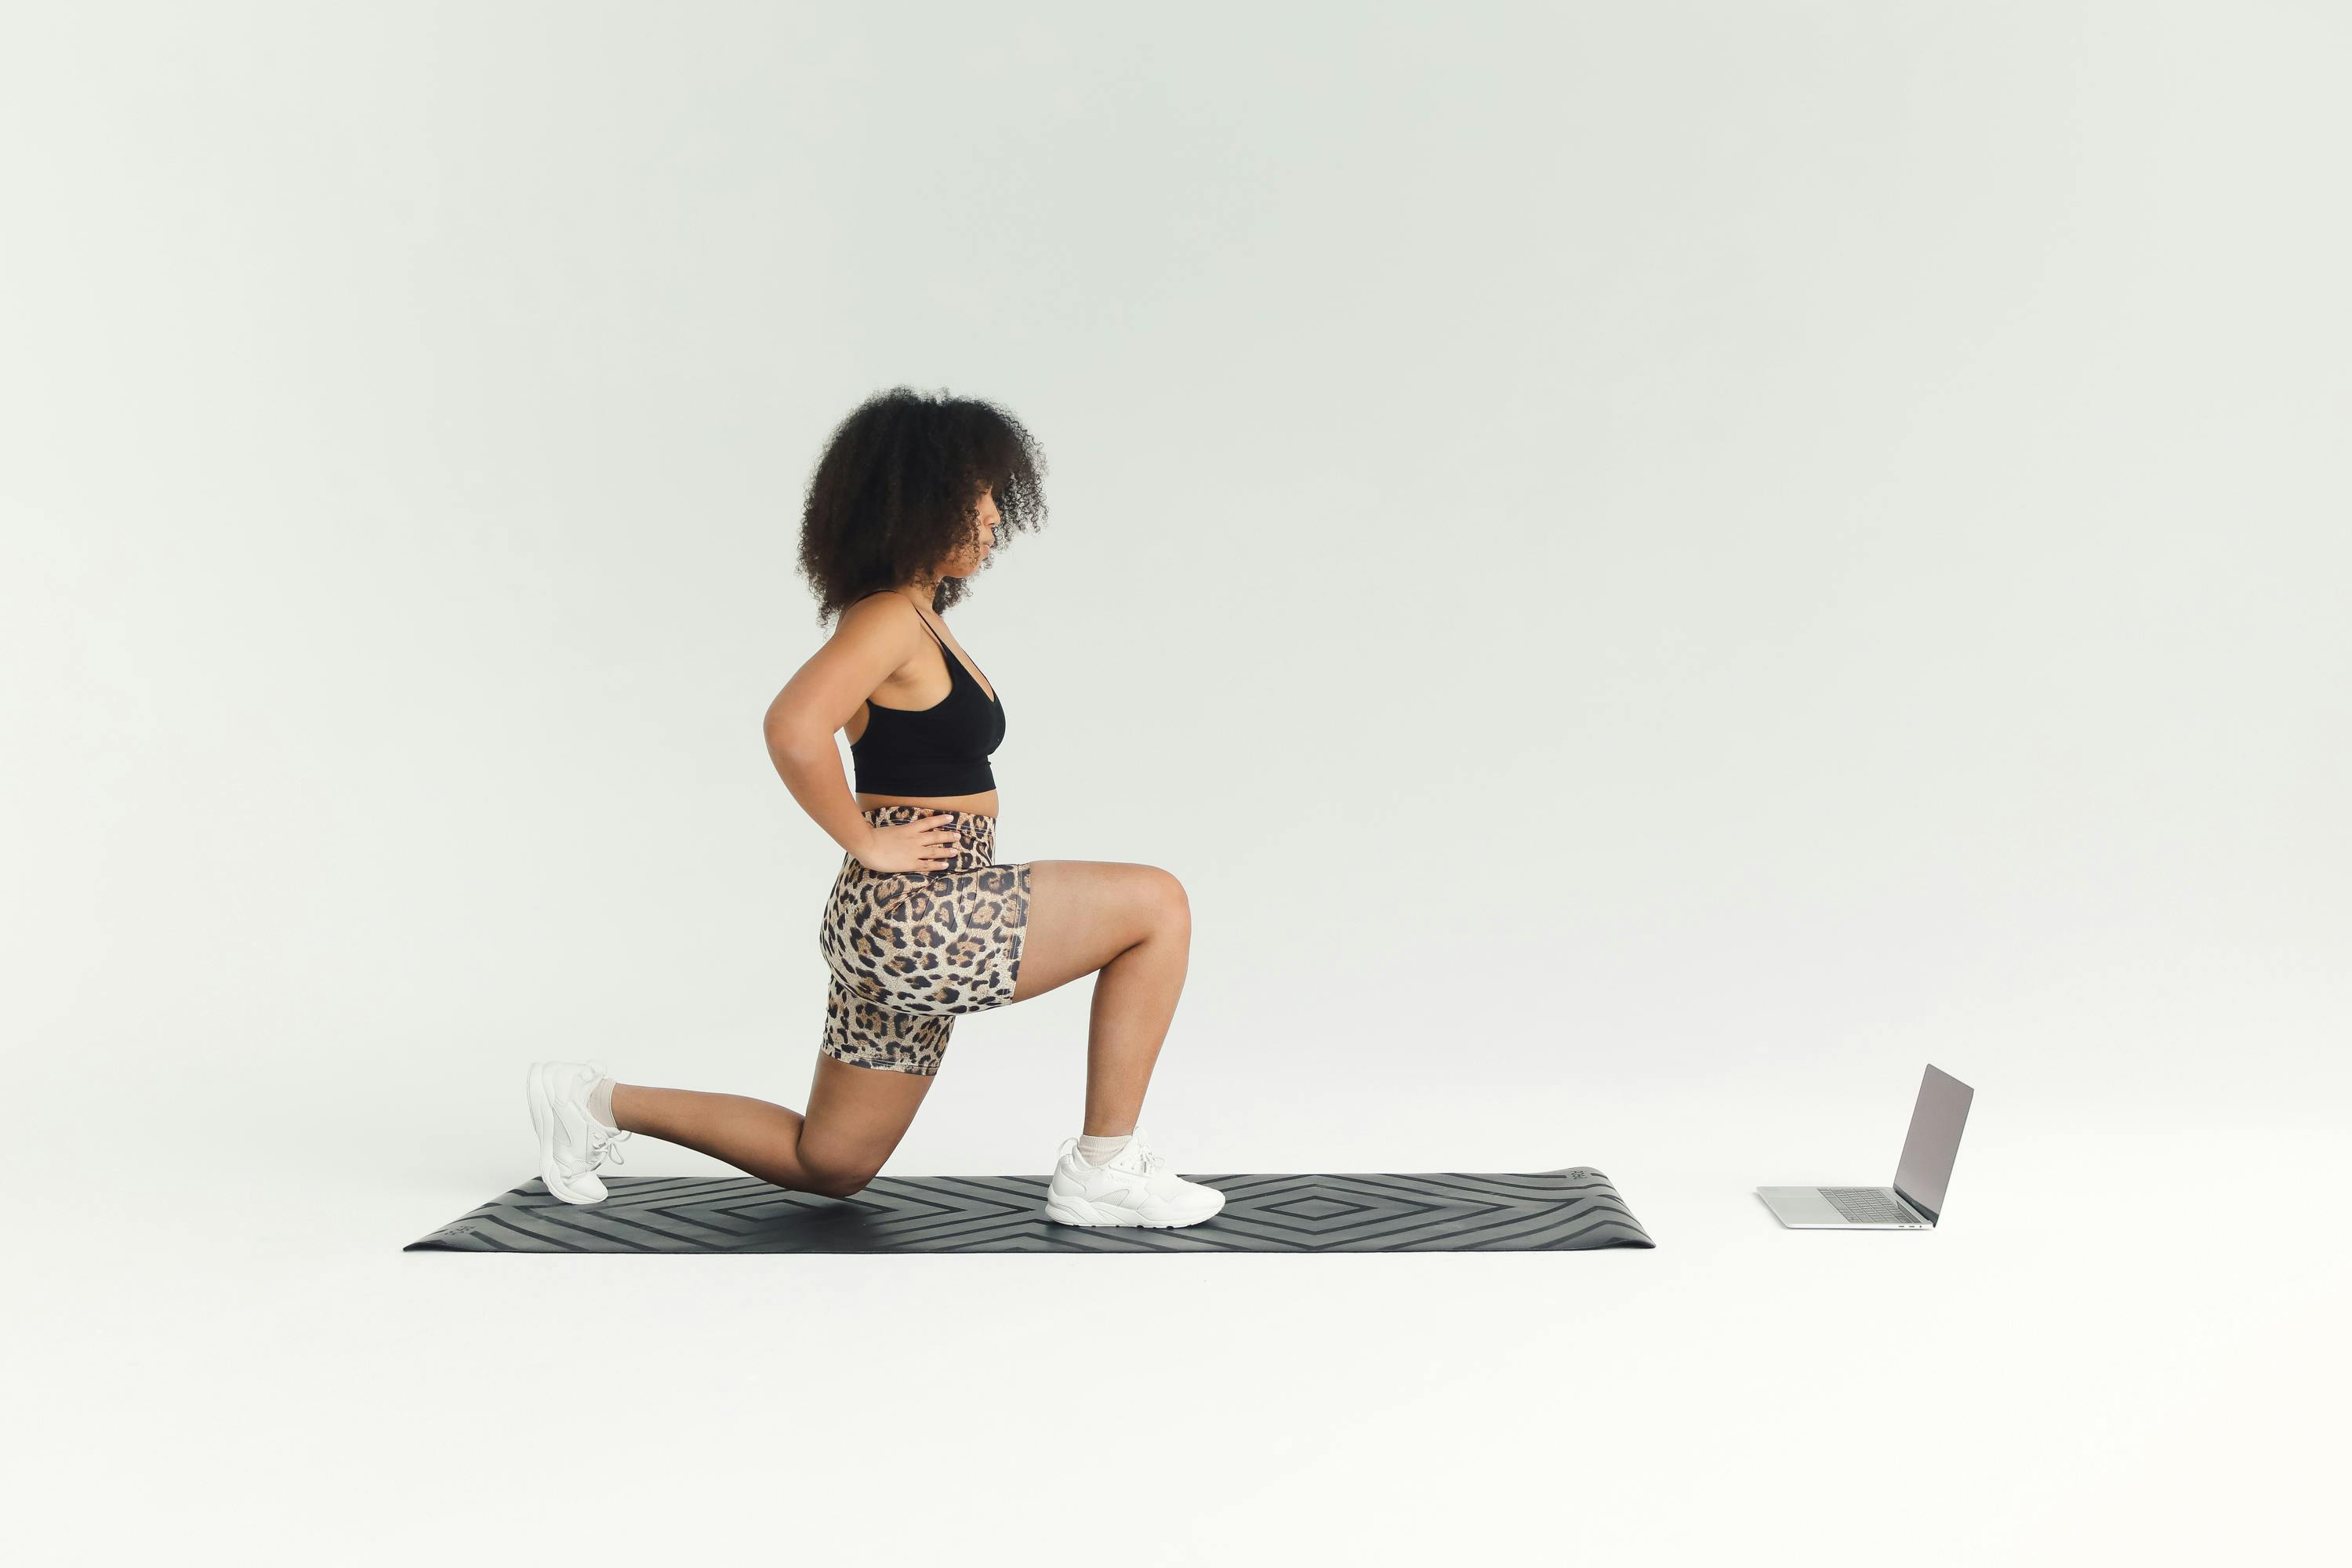
6 Functional Fitness Exercises to Simplify Everyday Movement
Mar 20, 2026


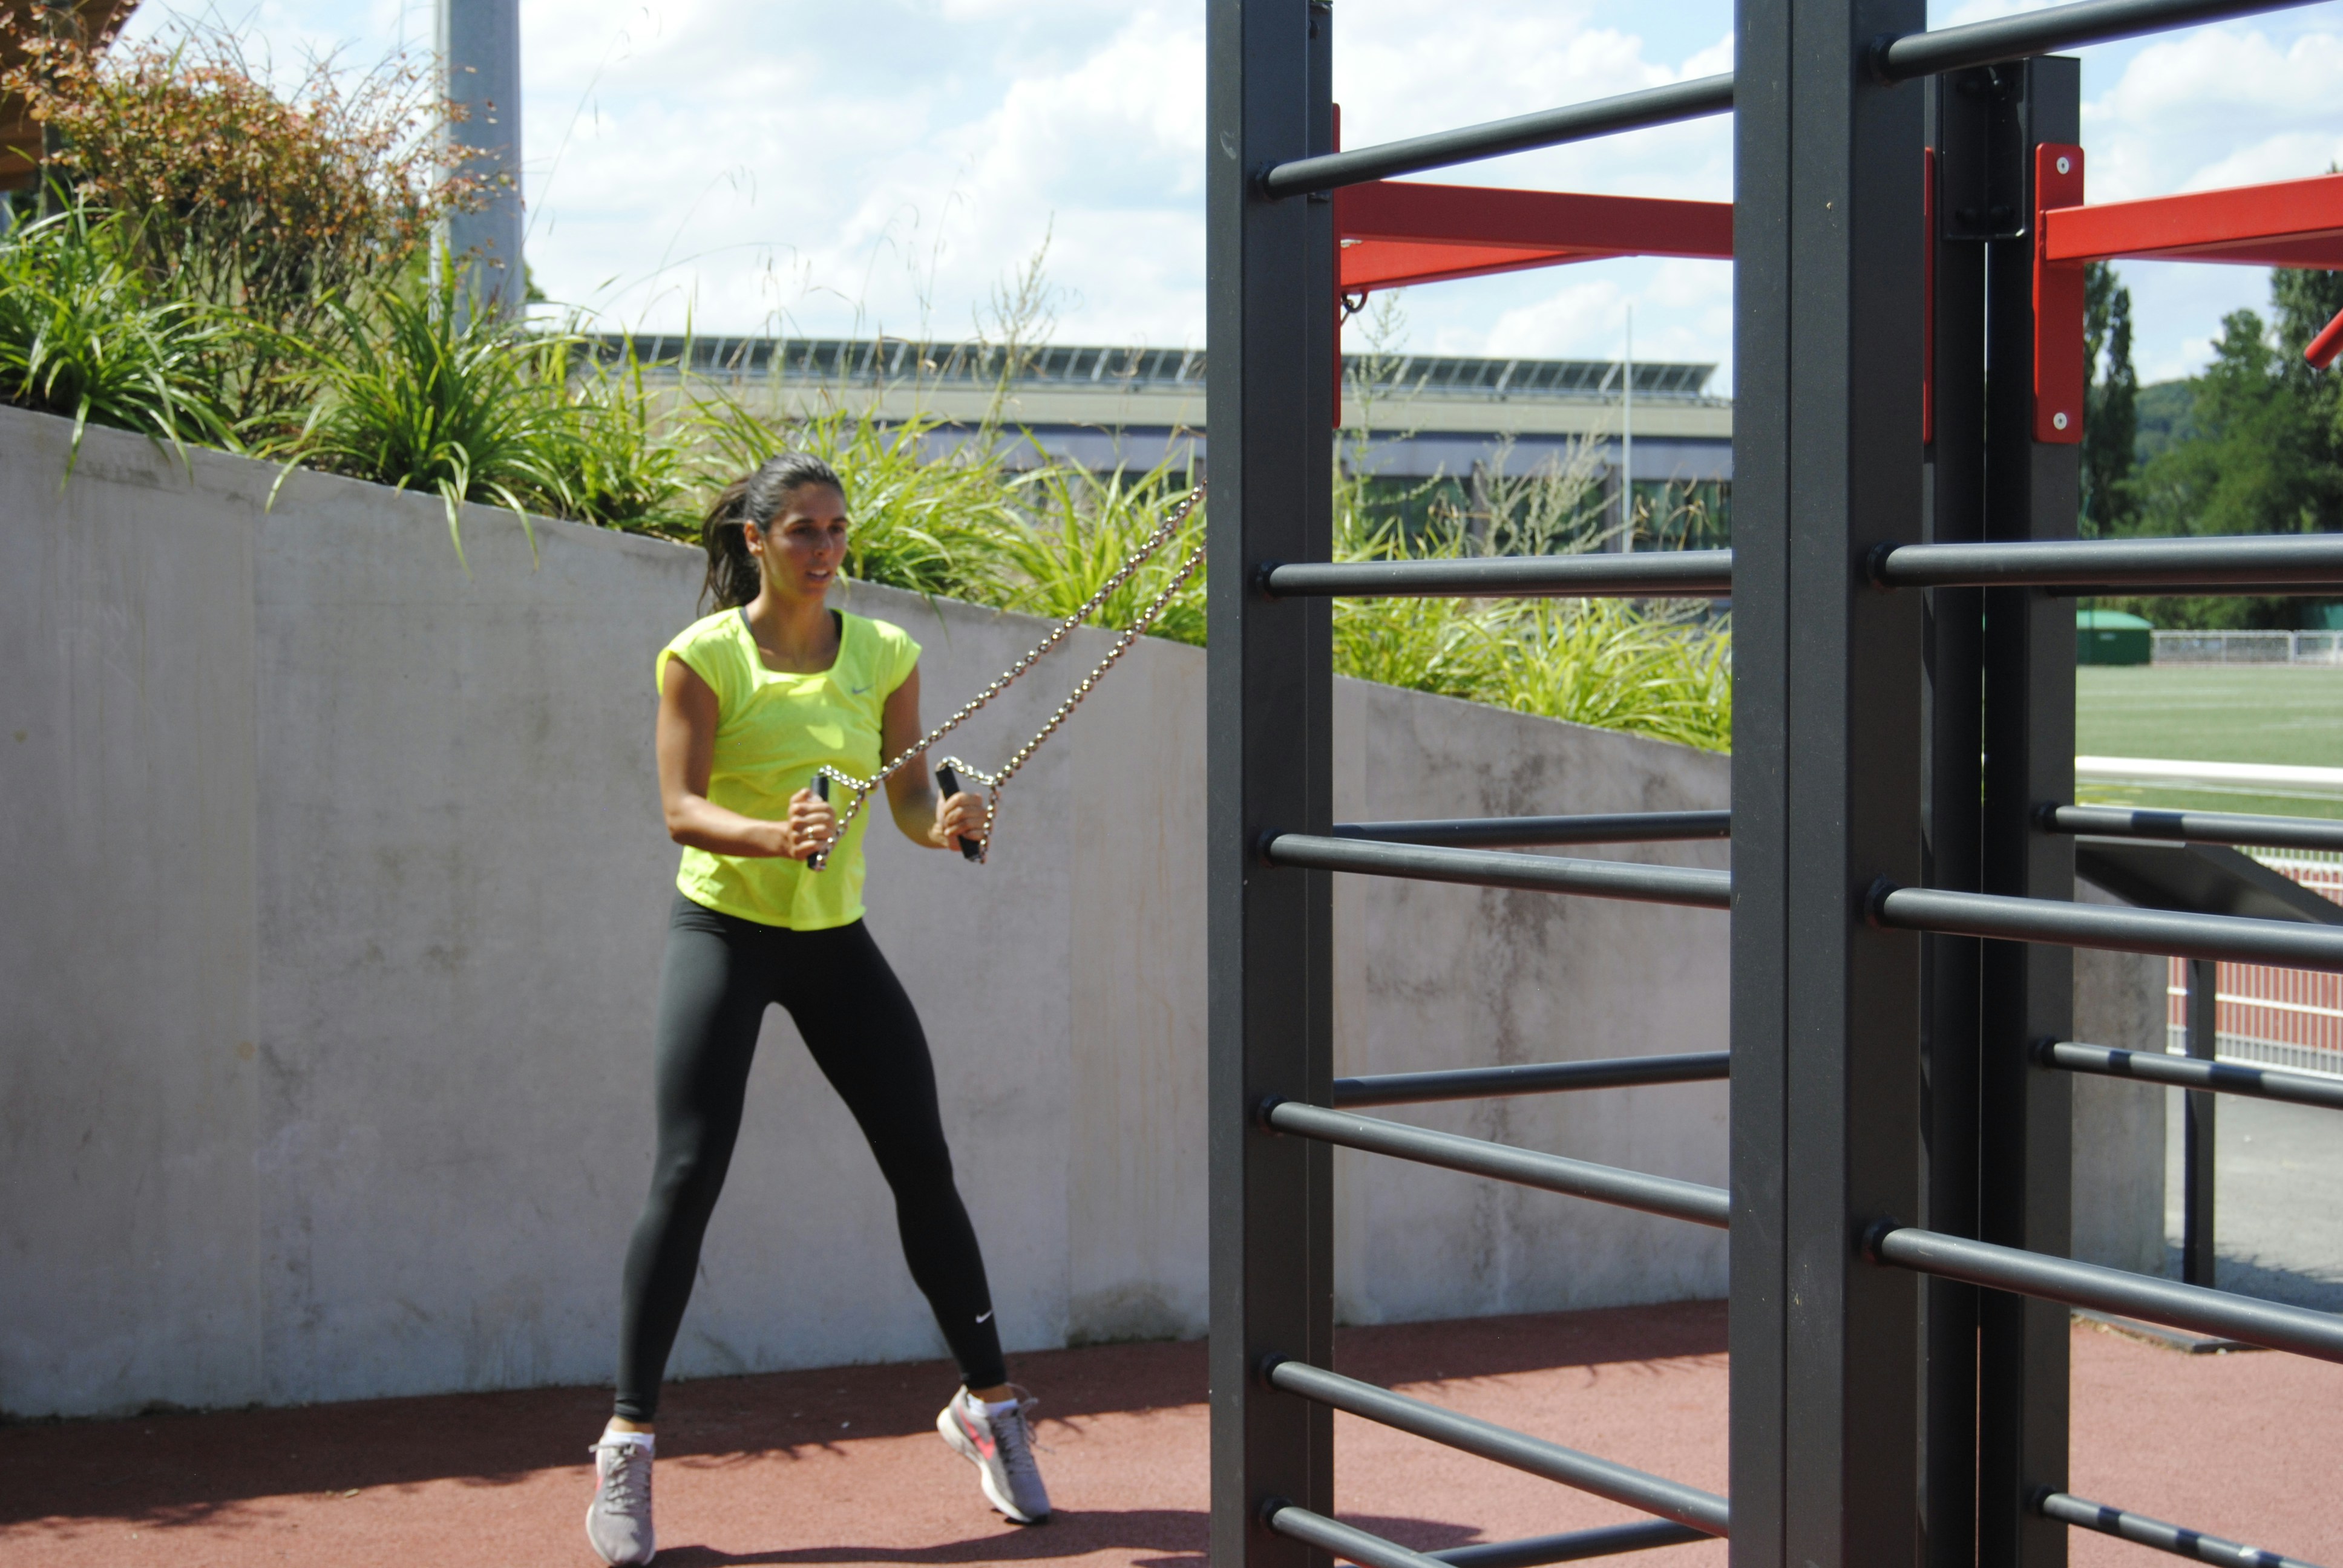
Small but powerful, resistance bands add intensity to your workouts by engaging muscles throughout your entire body. With these simple loops, you can increase strength, boost flexibility, and sculpt your physique without relying on heavy gym equipment. Whether you find yourself at home, traveling, or enjoying the outdoors, resistance bands adapt to almost any environment, making them a practical choice for everyday fitness. This guide walks you through straightforward instructions, effective exercises, and useful advice so you can confidently start a resistance band routine that leads to noticeable improvements in both strength and mobility.
Using bands keeps tension constant throughout the entire range of motion. This tension increases muscle activation by up to 30%, based on recent studies. You break through strength plateaus faster than with machines that load only specific angles.
Resistance bands adjust to any fitness level. They start light and can be scaled up to heavy resistance. This flexibility makes them perfect for warming up, recovering from injuries, or pushing through advanced workouts. Plus, they cost a fraction of dumbbell sets and fit in a gym bag.
Select a set that includes light, medium, and heavy resistance. Look for bands with protected inner cords and secure handles. Brands like TheraBand or similar labels often display clear resistance ratings. You also need a sturdy anchor—such as door anchors or a secure hook on a fence.
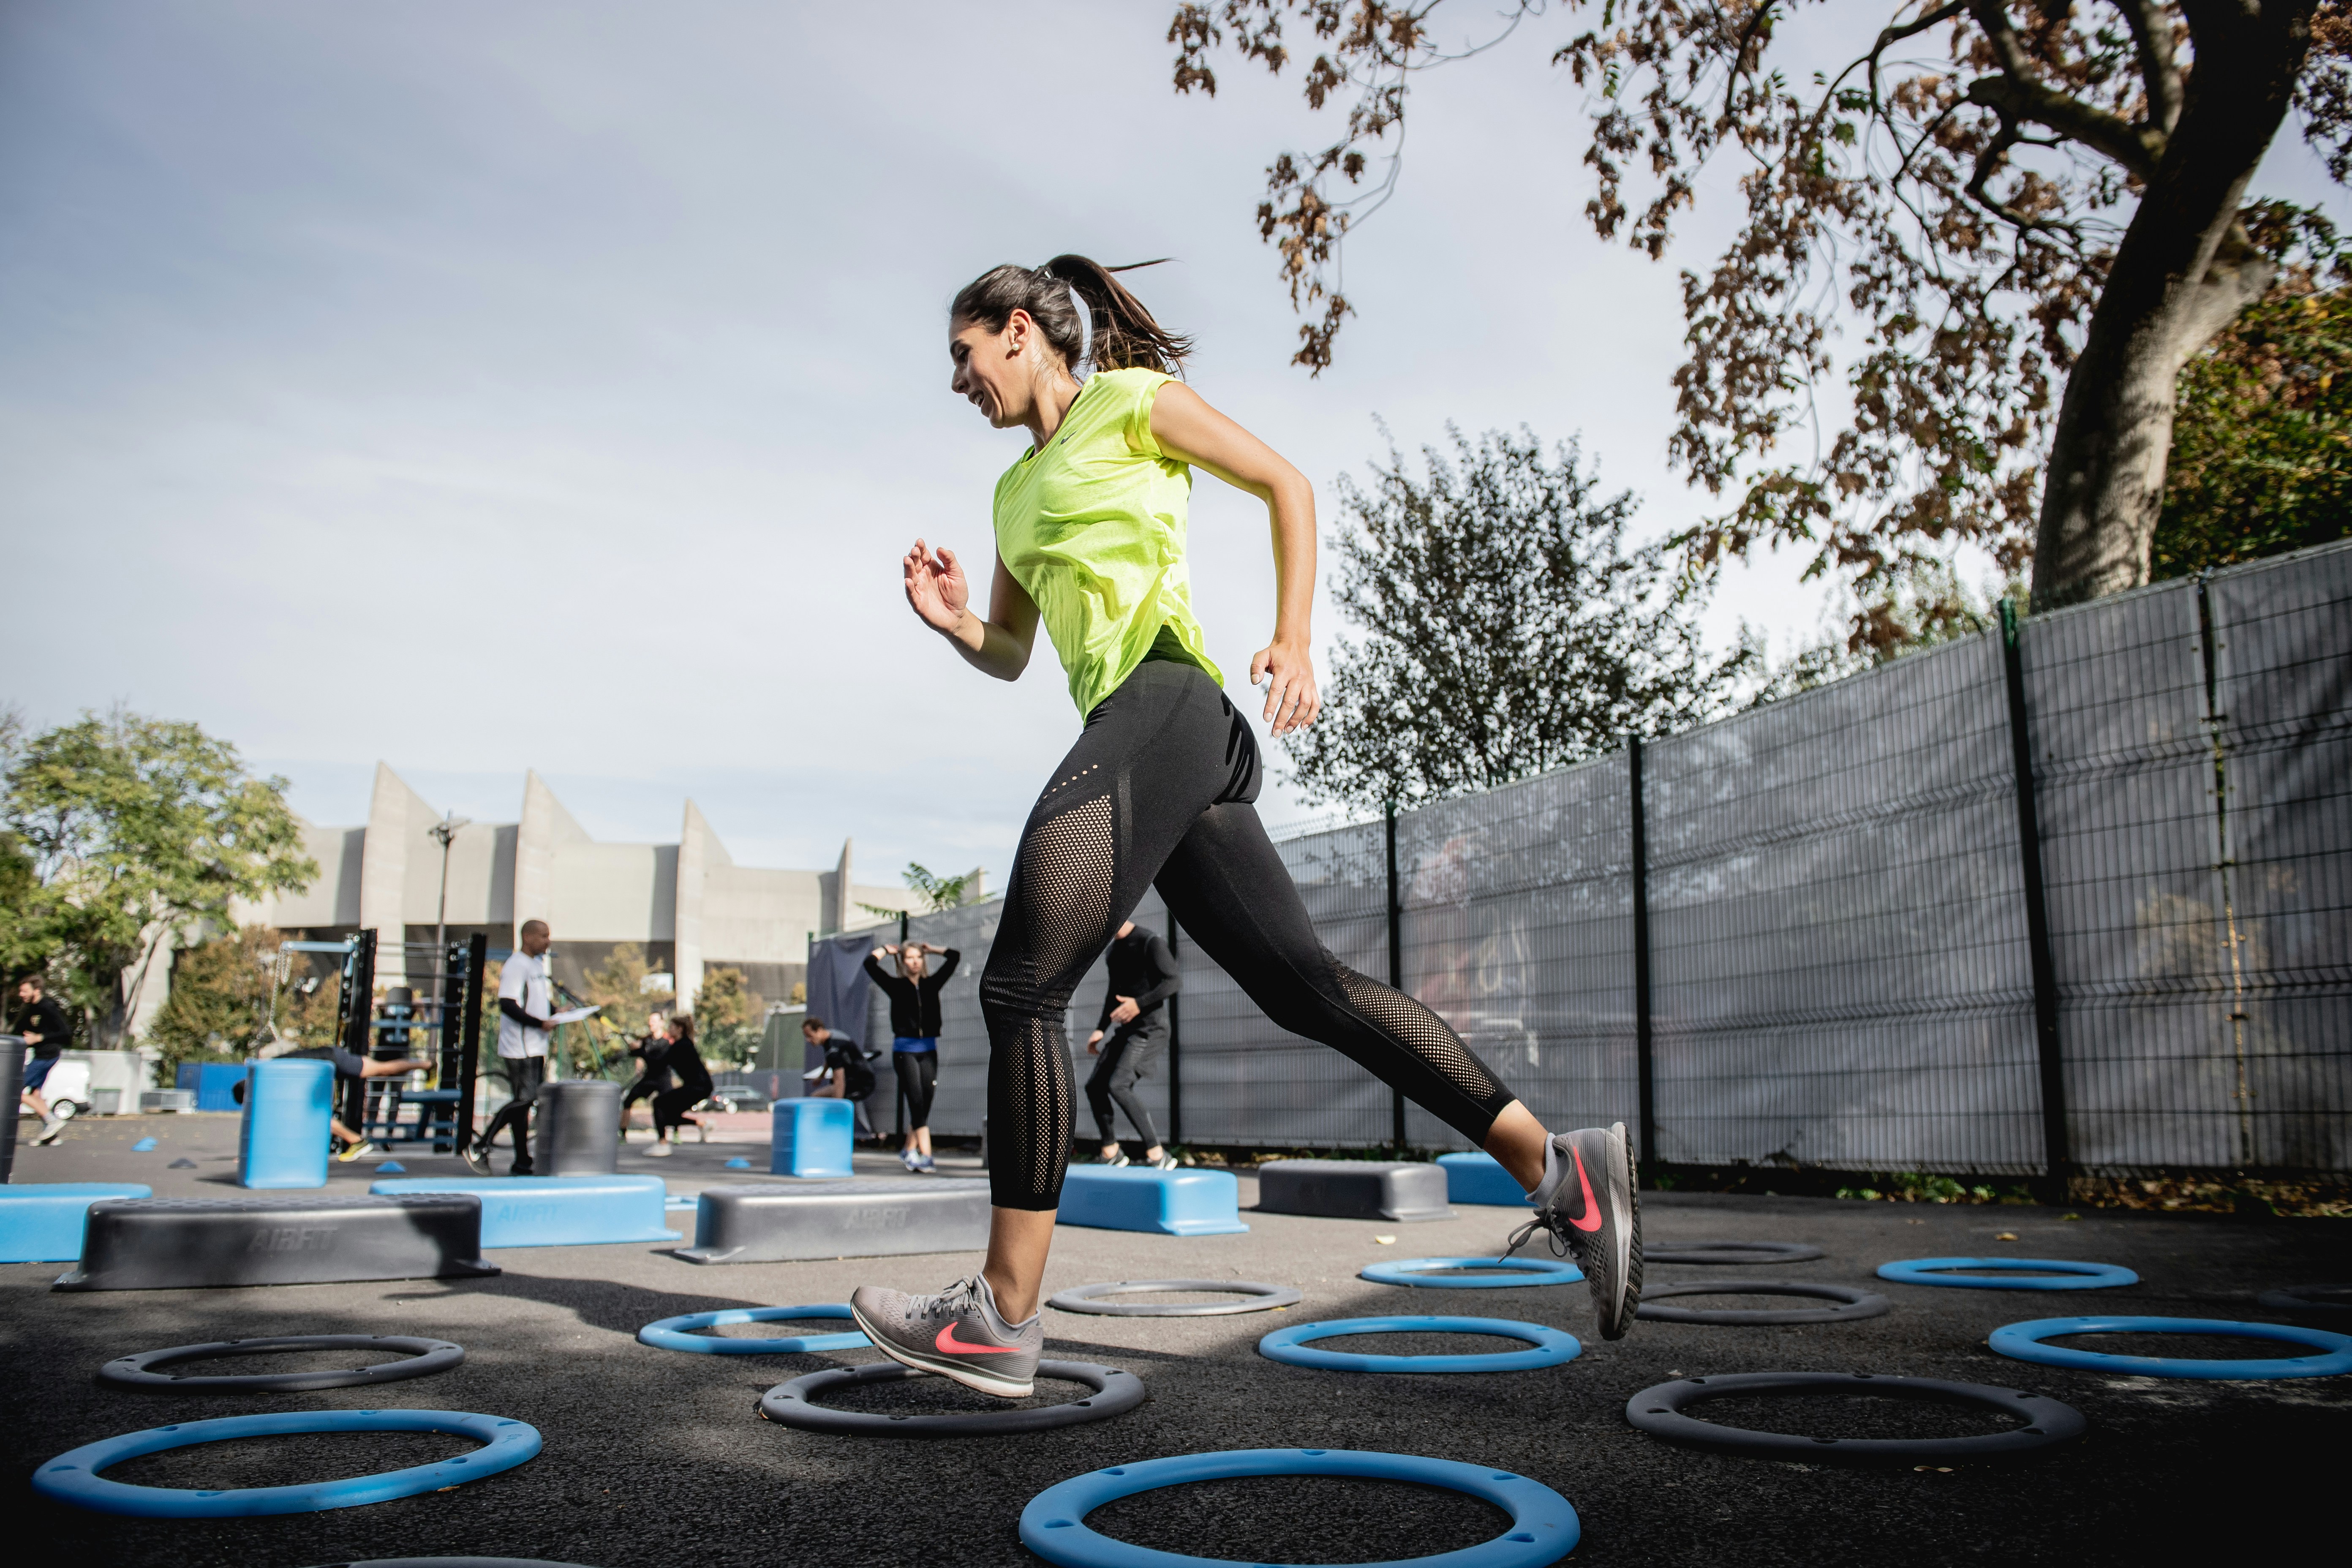
Set up in an open space with enough room to stretch your arms and legs fully. Attach the band at knee height for upper-body exercises. For lower-body moves, position it under your feet or at hip level on a stable post. Use a yoga mat or carpet to protect your knees during ground exercises. Adjust tension by shortening or lengthening the band’s loop.
Check your bands before each workout. Look for tears, frays, or thinning spots. A broken band can snap back and cause injury. Replace any worn band immediately.
Avoid twisting or rolling up bands during exercises. Uneven tension can compromise your form and overload your joints. Keep bands flat and grip both ends firmly. Engage your core to protect your spine, especially during standing pulls or presses. Keep your shoulders down and your neck relaxed to prevent strain.
Maintain a workout journal to record the resistance level, reps, and sets. Note any changes in how you feel—such as energy levels, soreness, or ease of movement. Over time, you will notice noticeable trends. For example, you might find yourself switching from a medium to a heavy band for squats within four weeks.
Set small goals like adding two more reps or increasing resistance. Celebrate your progress with rewards that are not food-related, such as a new playlist, a fitness tracker upgrade, or a massage. Find a workout buddy to keep yourself accountable. Studies show that people who exercise with a partner tend to stick with their programs about 35% longer on average.
Resistance bands challenge muscles and improve stability as you get stronger. Use them regularly to begin your full-body workout today.

Healthy bones form the foundation for every movement, from walking and lifting to turning and reaching. When you build bone density with resistance exercises, you...
Jan 26, 2026
Strengthening your core offers benefits that extend far beyond better posture. A solid core helps you maintain stability, ease discomfort in your lower back, and handle...
Mar 24, 2026
Managing ongoing aches often proves challenging, yet moving your body can offer noticeable relief. Pain may prompt you to rest, but gentle physical activity actually...
Apr 29, 2026

5 Beginner Cycling Workouts That Boost Cardio Without Strain introduces simple cycling routines designed to help adults improve their heart health while reducing the...
Jan 26, 2026
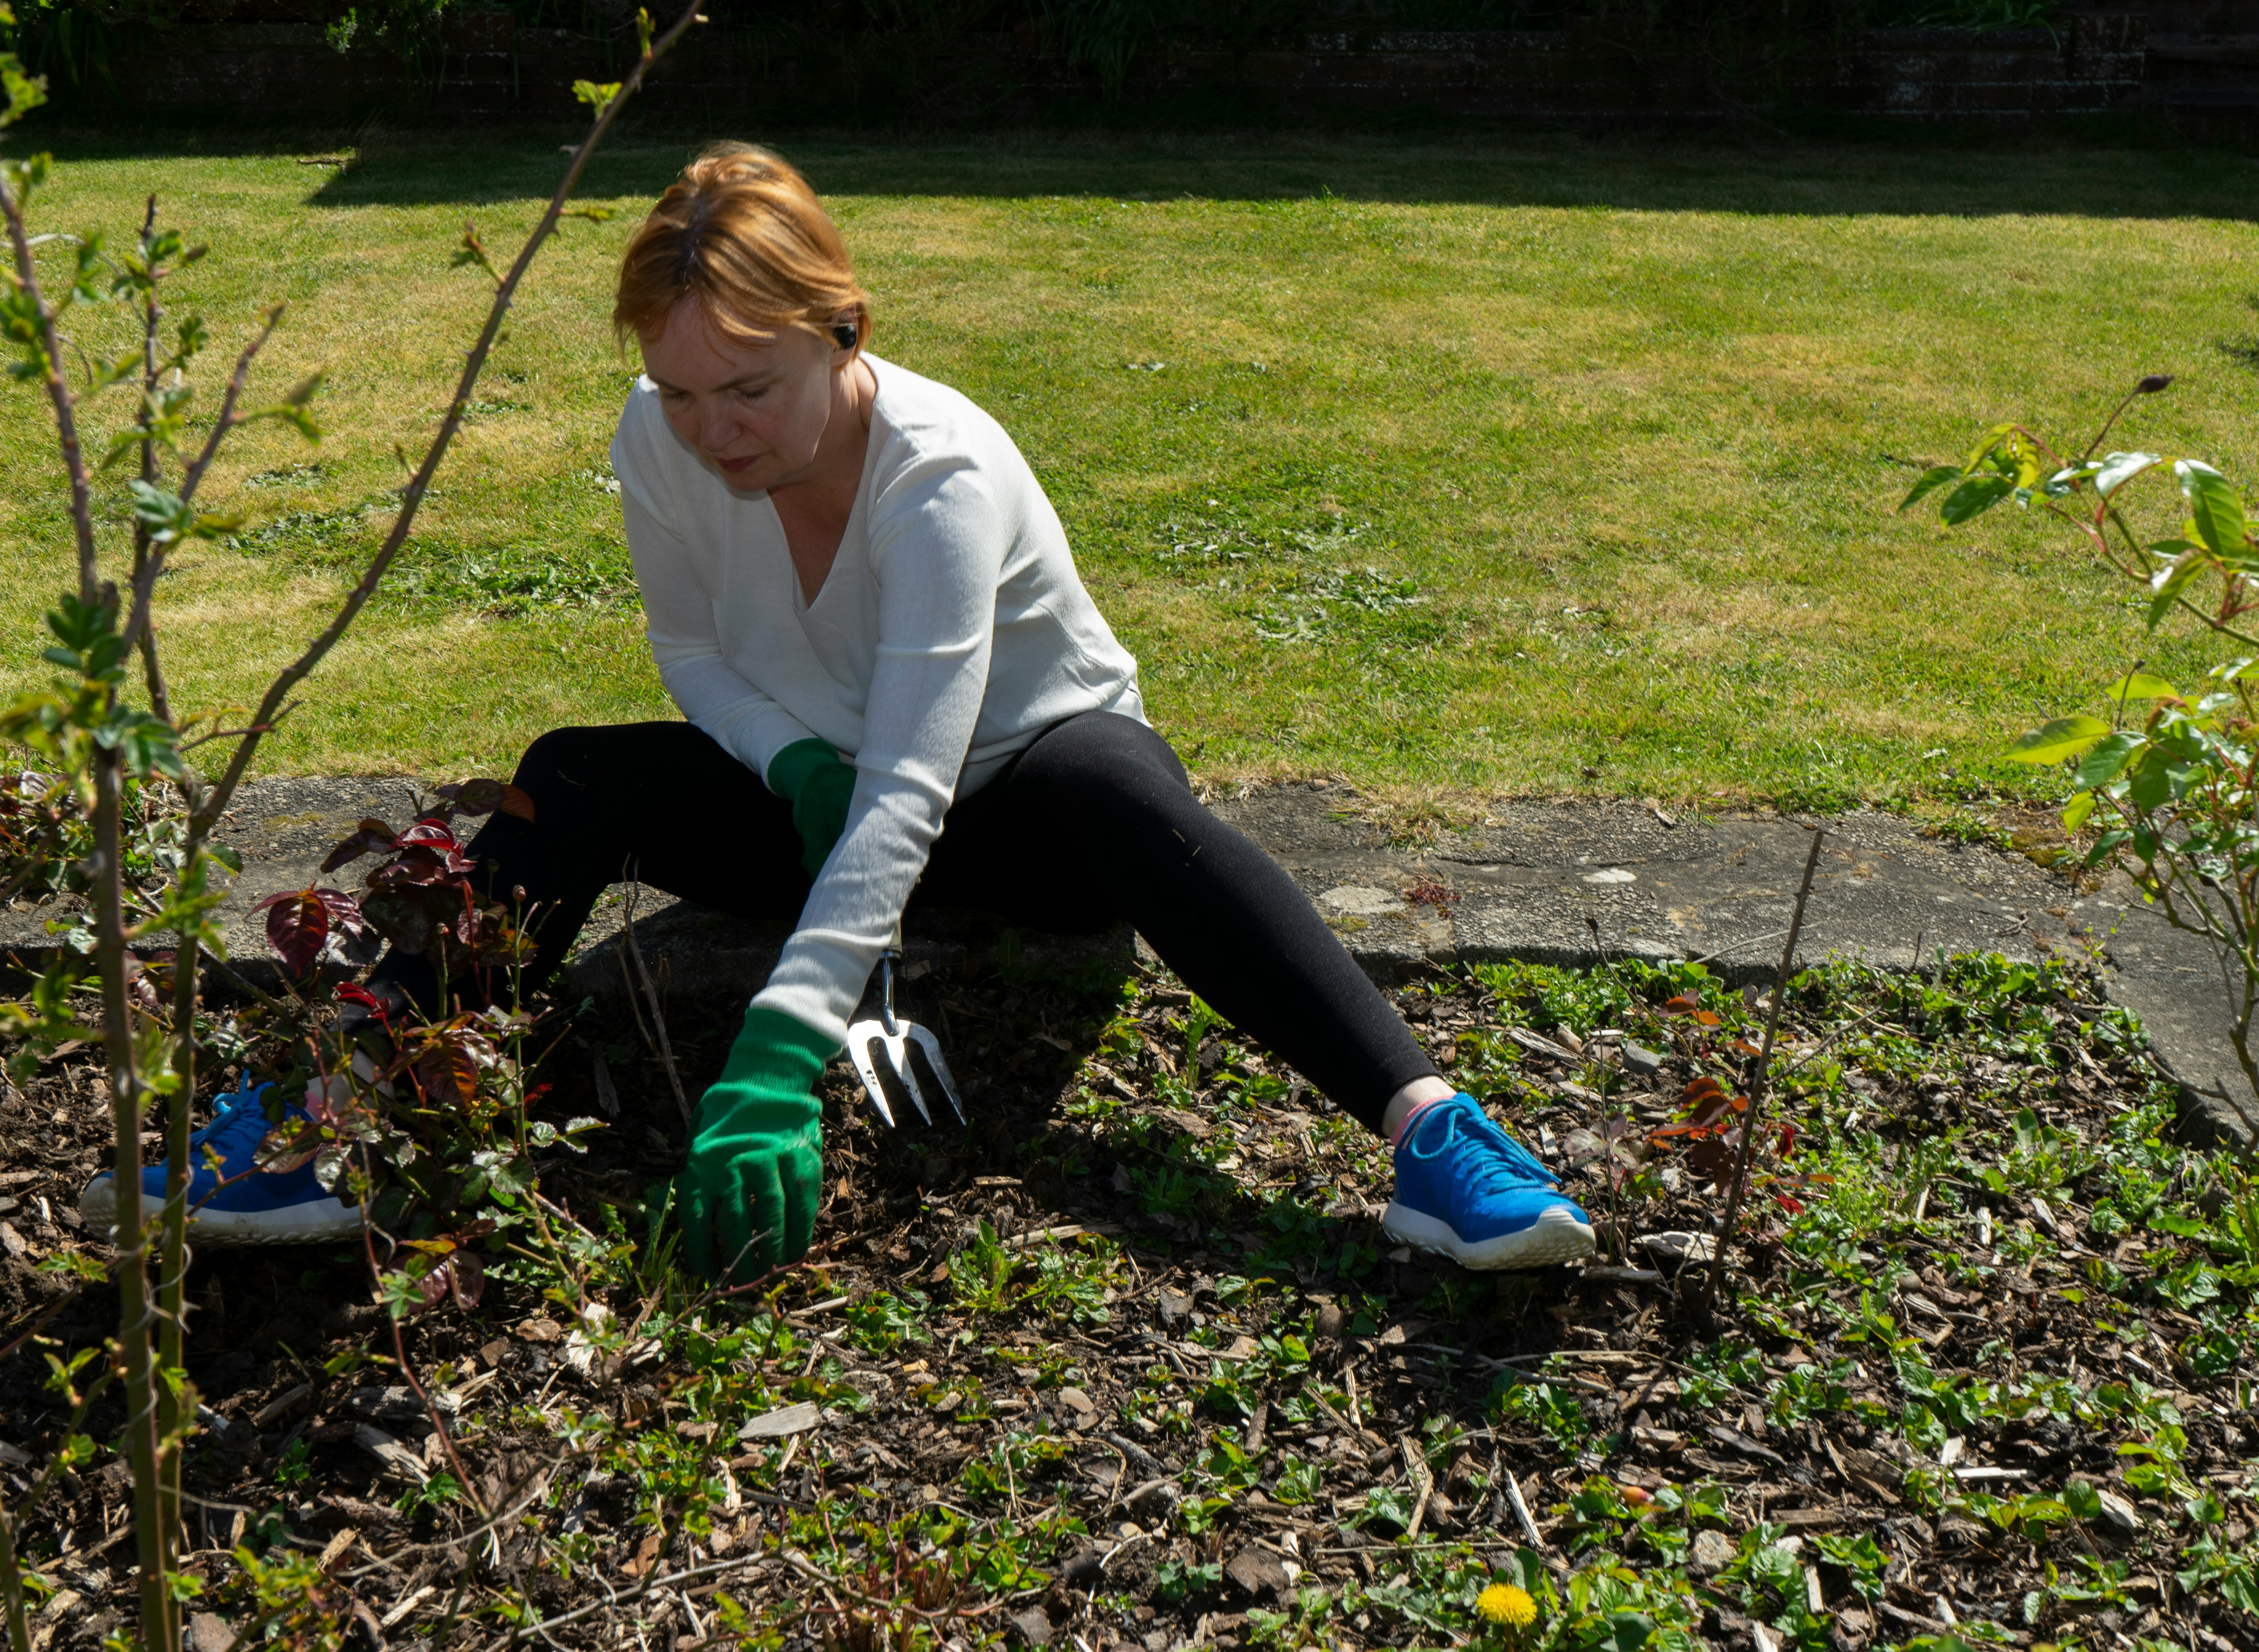
Working in your garden brings a sense of joy and keeps you active throughout the day. Sunshine, fresh air, and the sight of blooming flowers create a welcoming space...
Apr 03, 2026

Countless users install multiple health apps and often find it difficult to translate the data they collect into useful daily goals. By exploring how each app works and...
Apr 11, 2026
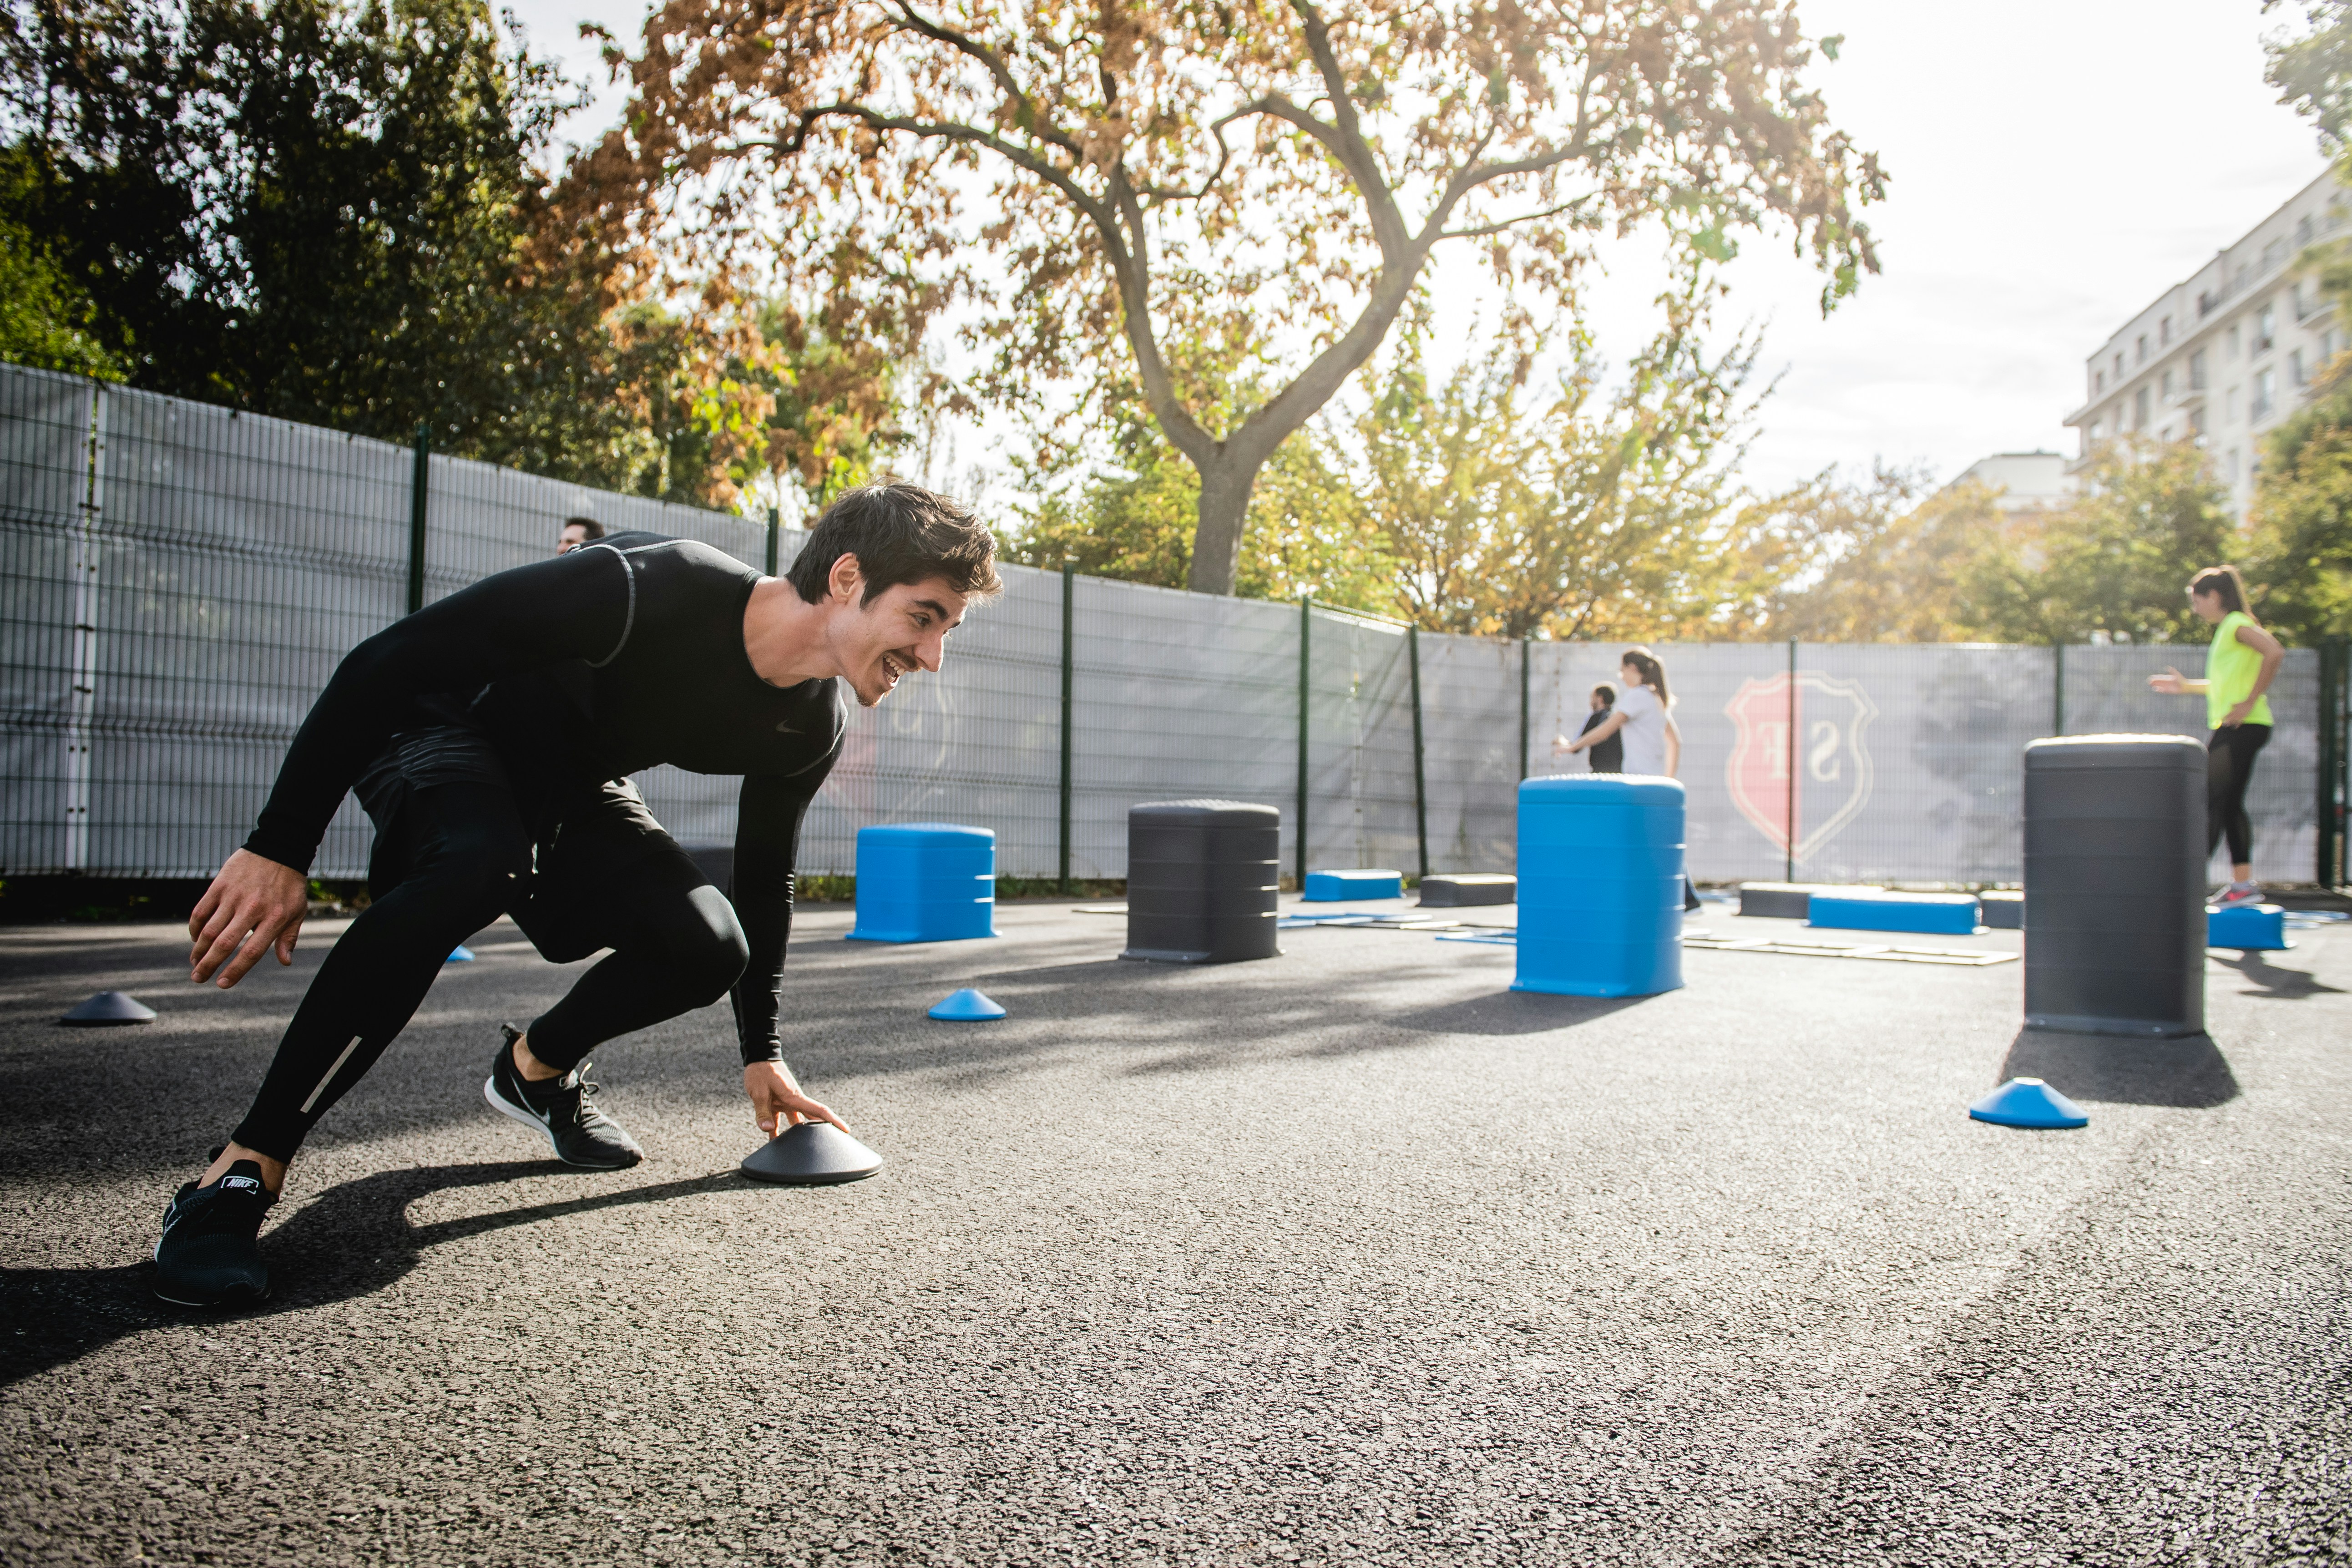
Fresh air and natural scenery bring a welcome change to any exercise routine. Instead of repeating the same movements indoors, outdoor workouts introduce new sensations...
Mar 27, 2026

Healthy boundaries support emotional well-being and help maintain strong, respectful relationships. When you clearly define what feels comfortable for you, stress...
Apr 07, 2026

Many people find that the excitement of working remotely fades when aches and pains begin to creep in, especially in the neck and back. Setting up a workspace that keeps...
Mar 17, 2026
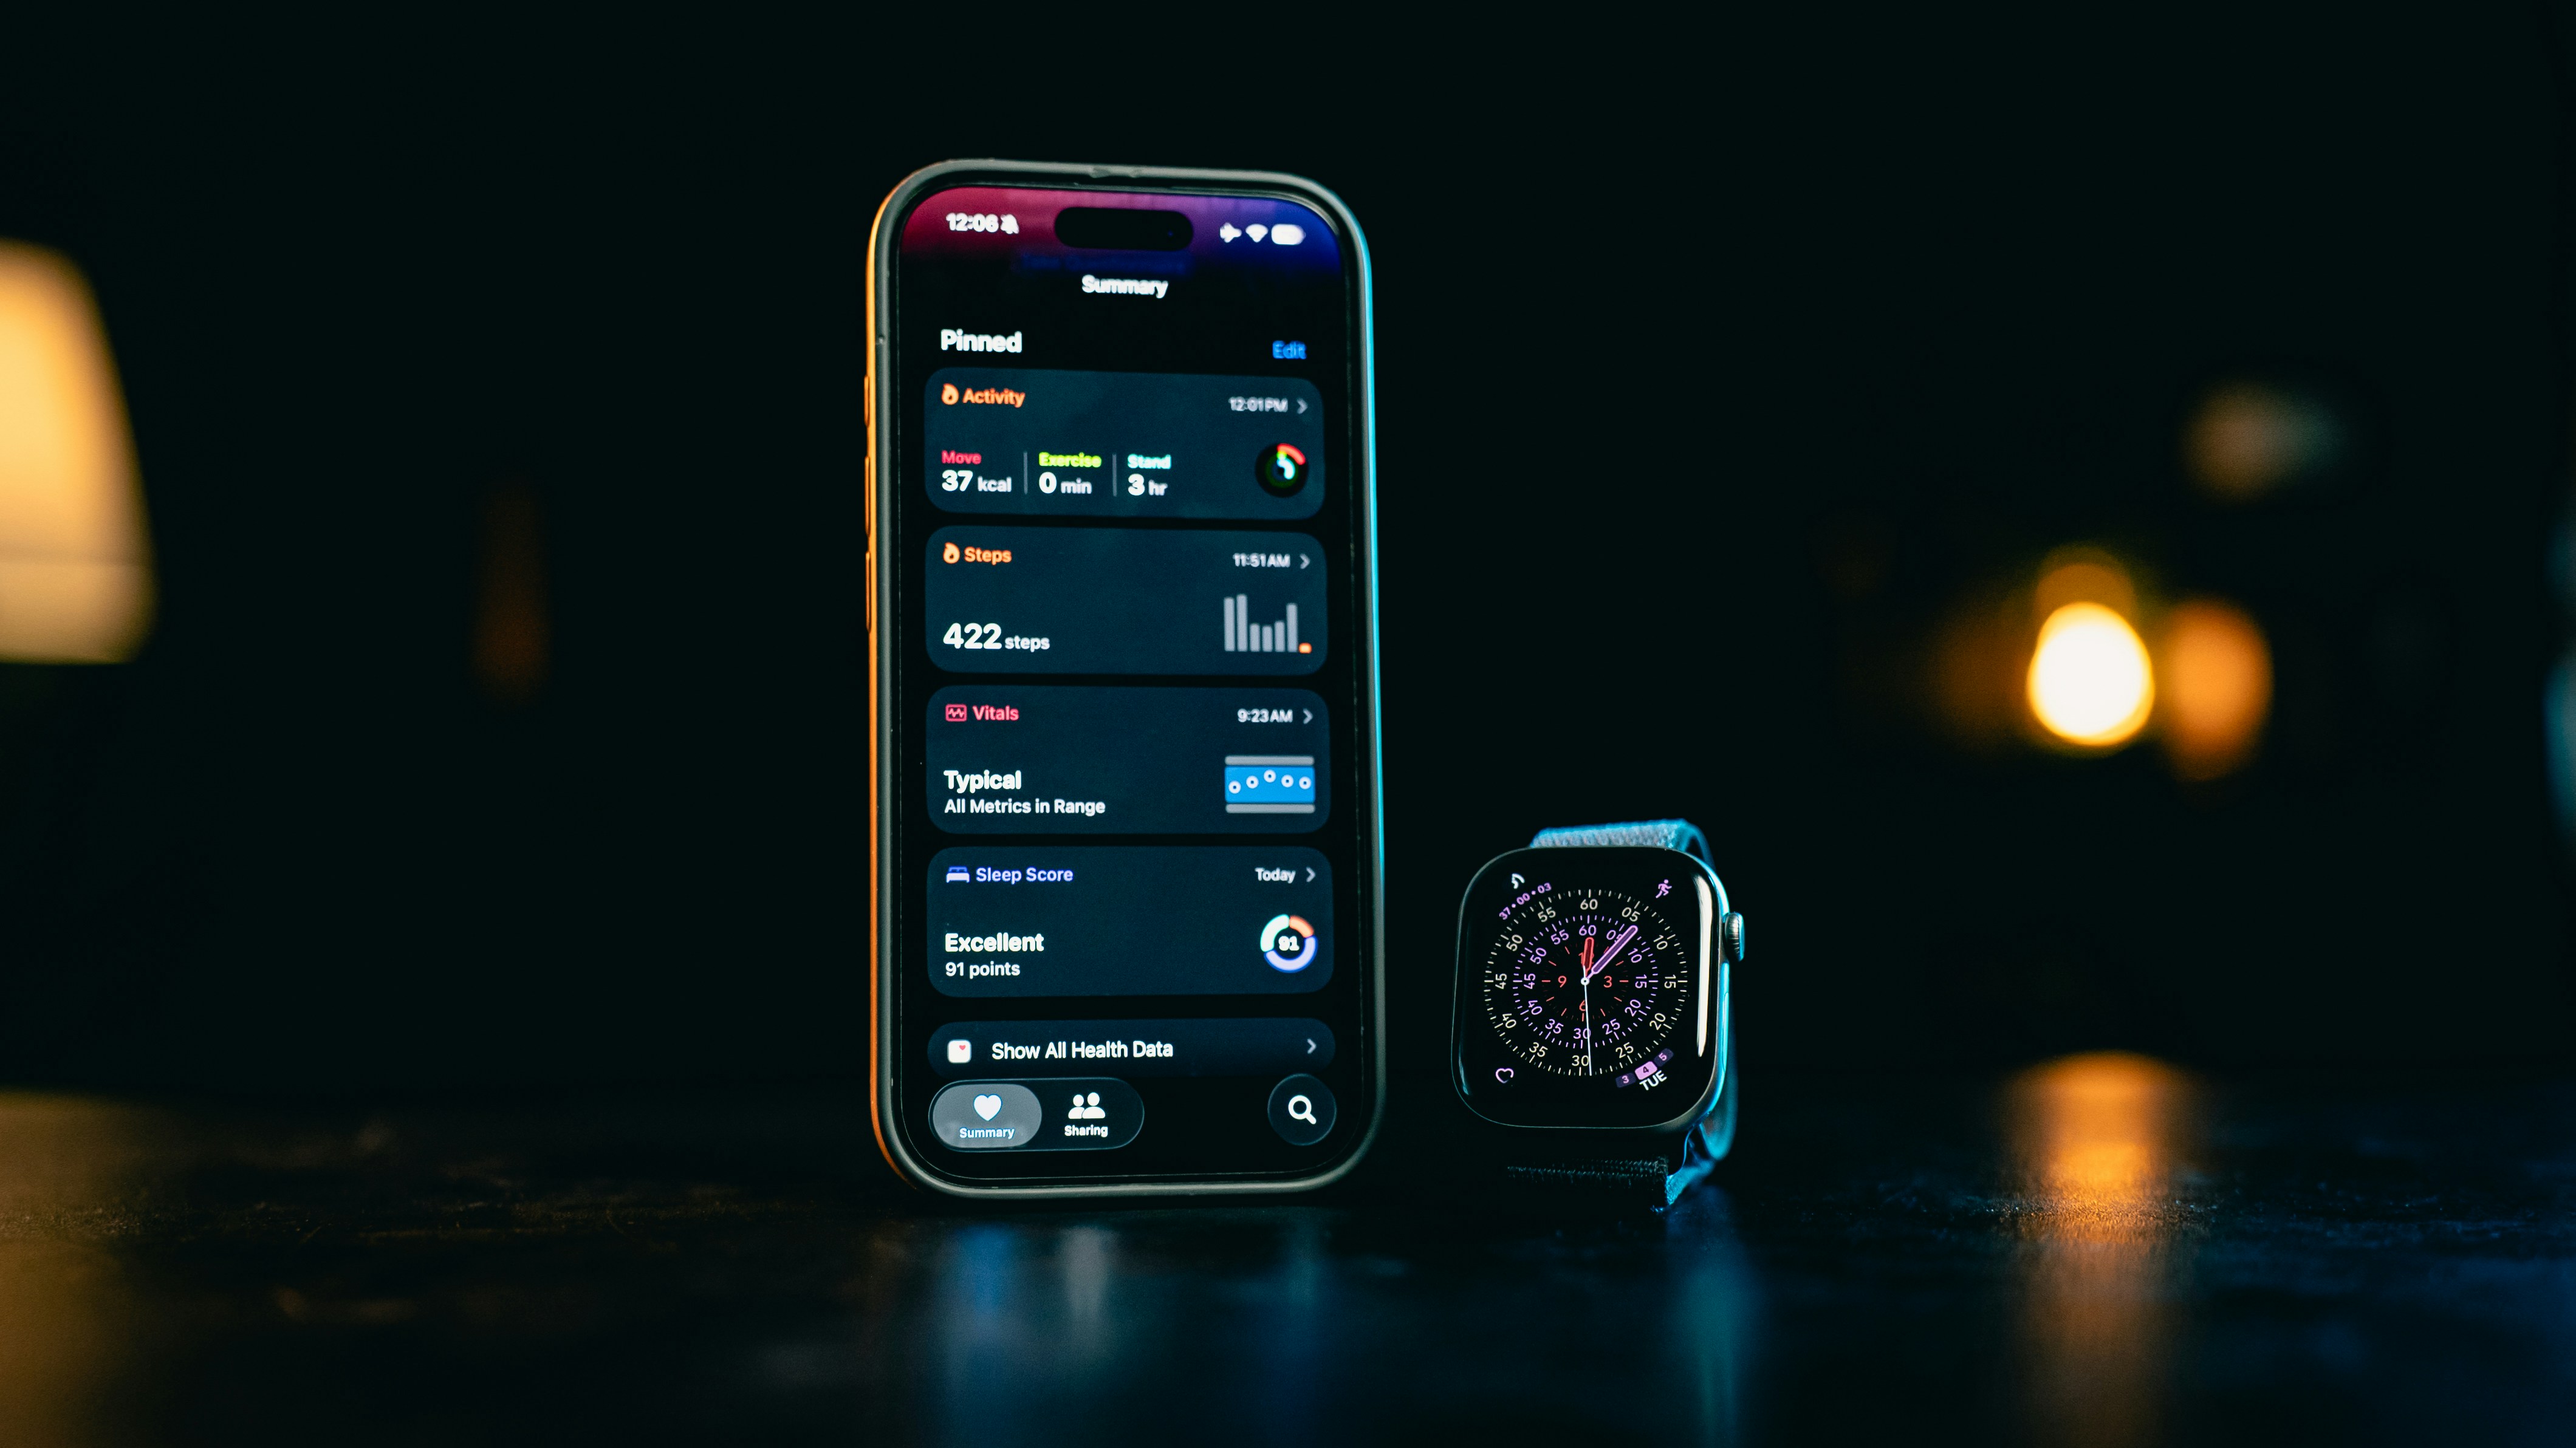
Building a practical toolkit to monitor your steps, sleep, nutrition, and stress no longer requires managing endless spreadsheets. Begin by setting specific, realistic...
Mar 13, 2026

Maintaining proper hydration requires more than following the familiar advice to drink eight glasses of water each day. Your body’s need for fluids depends on unique...
Jan 26, 2026

Simple changes to your daily routine can improve your health while supporting the environment. Swapping out certain kitchen staples, exploring alternative ways to...
May 09, 2026
Juggling work responsibilities, family commitments, and your own well-being takes more than good intentions. Take a close look at how you spend your time each day to...
Jan 26, 2026

Many offices find that paperwork causes delays and unnecessary frustration during visits. Switching to online tools allows staff to handle information more efficiently,...
May 19, 2026